

Maintaining clear views through your home glass is more than just a chore; it is a vital part of property upkeep. When you master the right window washing techniques, you protect your surfaces from long-term damage while letting natural light flood your living spaces.
Many homeowners struggle with unsightly marks left behind by improper methods. By using a simple DIY window cleaning solution, you can easily achieve professional results without harsh chemicals. Careful preparation and the correct tools are the secrets to ensuring your panes remain pristine.
This guide will walk you through the entire process, from scrubbing frames to polishing the glass. You will learn how to avoid common mistakes that cause residue or scratches. Get ready to transform your home with a brilliant, streak-free shine that lasts.
Key Takeaways
- Regular maintenance preserves the integrity of your glass surfaces.
- A homemade mixture is often more effective than expensive store-bought products.
- Proper preparation prevents scratches and stubborn residue.
- Using the right squeegee technique ensures a professional finish.
- Clean frames and screens are essential for a truly polished look.
Prepare the Glass, Tools and Cleaning Solution
Before you reach for the squeegee, you need to set the stage for a perfect finish. Proper preparation is the secret behind every professional-looking window washing project.
Step 1: Choose a Cool, Overcast Time to Clean
Avoid direct sunlight, strong wind and freezing temperatures
Timing is everything when you want to avoid unsightly streaks. Direct sunlight causes your cleaning solution to evaporate far too quickly, leaving behind stubborn residue.
It is best to work on a cloudy day or when the window is in the shade. You should also avoid windy days, which blow dust onto wet glass, and freezing temperatures that make the water brittle and difficult to manage.
Step 2: Gather the Essential Window-Washing Equipment
Use a bucket, soft brush, microfibre cloths, squeegee and clean water
Having the right window cleaning equipment makes the job much easier. You will need a sturdy bucket, a soft-bristled brush, and a high-quality squeegee with a fresh rubber blade.
Keep several microfibre cloths on hand for drying and detailing. A lint-free cloth is essential for buffing away any final moisture without leaving behind annoying fibres.
Protect sills, floors and nearby furniture before washing
Water can easily drip onto your interior surfaces, so take a moment to prepare the area. Lay down old towels or drop cloths to protect your sills, floors, and any nearby furniture from accidental splashes.
Step 3: Remove Loose Dust and Surface Debris
Brush or vacuum frames, tracks, corners and screens first
Before applying any liquid, clear away the dry dirt. Use a soft brush or a vacuum attachment to clean your window frames, window tracks, and corners.
Do not forget to remove and clean your window screens separately. This prevents a muddy mess from forming once you start the wet cleaning process.
Prevent grit from scratching the glass during washing
Loose grit is the enemy of clear glass. If you scrub over dust, you risk creating tiny, permanent scratches on the surface. Removing this debris first ensures your glass stays pristine.
Step 4: Mix a Mild, Glass-Safe Cleaning Solution
Use warm water with a small amount of washing-up liquid
You do not need expensive products to get a great result. A simple DIY window cleaning solution of warm water and a tiny drop of mild washing-up liquid works wonders.
Alternatively, you can mix a white vinegar window cleaner by combining one part distilled white vinegar with ten parts warm water. This natural cleaning solution cuts through grease effectively and leaves a brilliant shine.
Avoid excessive soap, abrasive powders and unsuitable household chemicals
Less is often more when it comes to soap. Using too much can leave a sticky film that attracts more dirt later. Always avoid abrasive powders, ammonia, or harsh household chemicals that could damage the glass or the surrounding seals.
Follow the Window Cleaning Tips for a Streak-Free Finish
Achieving a professional finish on your glass requires a systematic approach to every part of the window. By focusing on the details, you can ensure your clean windows remain free of unsightly marks and residue.
Step 5: Wash the Frames, Sills and Edges Before the Panes
Work from the top down to prevent dirty drips
Always start by cleaning the frames and sills before you touch the glass. This prevents dust and grime from running down onto your freshly cleaned panes.
Use a separate cloth for heavily soiled frames
Heavily soiled frames often contain grit that can scratch glass. Use a dedicated cloth for these areas to keep your glass cleaning tools pristine.
Step 6: Wet the Glass Evenly Without Over-Saturating It
Cover the entire pane with the cleaning solution
Apply your cleaning solution evenly across the surface. Ensure the glass is damp enough to work with but avoid excessive dripping.
Loosen fingerprints, grease, mineral deposits and dried-on grime
Allow the solution to sit for a moment to break down stubborn dirt. This makes the subsequent removal process much smoother.
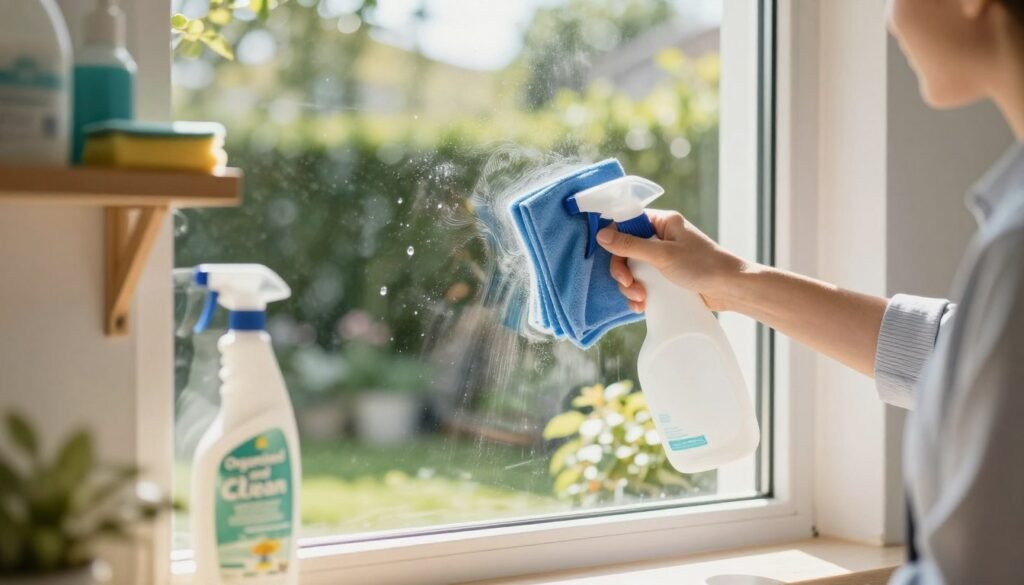
Step 7: Squeegee the Pane in Consistent Strokes
Start at the top and maintain steady, overlapping passes
Place your squeegee at the top corner and pull it down in a straight line. Overlap each stroke by a few centimetres to ensure no water is left behind for streak-free windows.
Wipe the squeegee blade between strokes
A clean blade is essential for a perfect finish. Wipe the rubber edge with a dry cloth after every single pass to remove accumulated moisture.
Use a smaller squeegee for corners and narrow panes
Manoeuvring in tight spaces is easier with a smaller tool. This prevents water from pooling in the corners of your interior windows.
Step 8: Dry the Edges and Buff Remaining Marks
Run a clean, dry microfibre cloth around the perimeter
Use microfibre cloths to soak up any water left on the frame or edges. This final touch prevents water spots from forming as the glass dries.
Polish smudges with a fresh lint-free cloth rather than paper towels
Avoid paper towels, as they often leave behind lint. A high-quality lint-free cloth provides a superior, polished look.
Step 9: Inspect the Glass from Different Angles
Check for streaks indoors and outdoors where accessible
View the glass from multiple angles to catch missed spots. This is particularly important for exterior windows that catch direct sunlight.
Correct marks with a lightly dampened cloth and a final dry buff
If you spot a smudge, simply dampen a small area of your cloth. Buff it dry immediately to restore clarity.
Step 10: Clean Screens and Finish the Window Area
Rinse or vacuum screens according to their material
Remove your window screens and clean them gently. Vacuuming or rinsing helps remove trapped dust that would otherwise blow back onto your clean glass.
Wipe tracks, handles and sills before replacing the screens
Clean the window tracks thoroughly to ensure smooth operation. A tidy sill completes the job and protects your home from debris.
Step 11: Handle Stubborn Marks and Hard-Water Spots Safely
Soften dried residue instead of scraping aggressively
Never use metal blades, as they can cause permanent scratches. Instead, use a gentle solution to soften hard-water spots over time.
Use a suitable glass-safe treatment for mineral deposits
For stubborn mineral deposits, apply a mild acidic cleaner designed for glass. Always follow the manufacturer’s instructions carefully.
Never mix cleaning chemicals, especially bleach and ammonia
Safety is paramount when handling supplies. Mixing chemicals can create dangerous fumes, so stick to one product at a time.
| Tool | Primary Use | Benefit |
|---|---|---|
| Squeegee | Removing water | Streak-free finish |
| Microfibre Cloth | Detailing edges | Absorbent and lint-free |
| Soft Brush | Window screens | Removes loose dust |
| Scrubbing Pad | Stubborn grime | Non-abrasive cleaning |
Conclusion
Achieving a pristine view is easier than you might imagine. By following a structured approach that includes careful preparation, precise washing, and thorough inspection, you ensure your glass remains crystal clear. Every component, from the frames and tracks to the screens, plays a vital role in the overall appearance of your property.
Consistent care is the secret to maintaining streak-free windows throughout the year. Aim to clean windows at least twice annually to prevent stubborn grime buildup. Monthly attention keeps the glass sparkling if you live in a dusty area or near the coast.
Integrating these steps into your regular home maintenance routine protects your investment and enhances natural light. You will find that a little effort goes a long way in preserving the beauty of your residence. Enjoy the clarity and brightness that comes with a job well done.